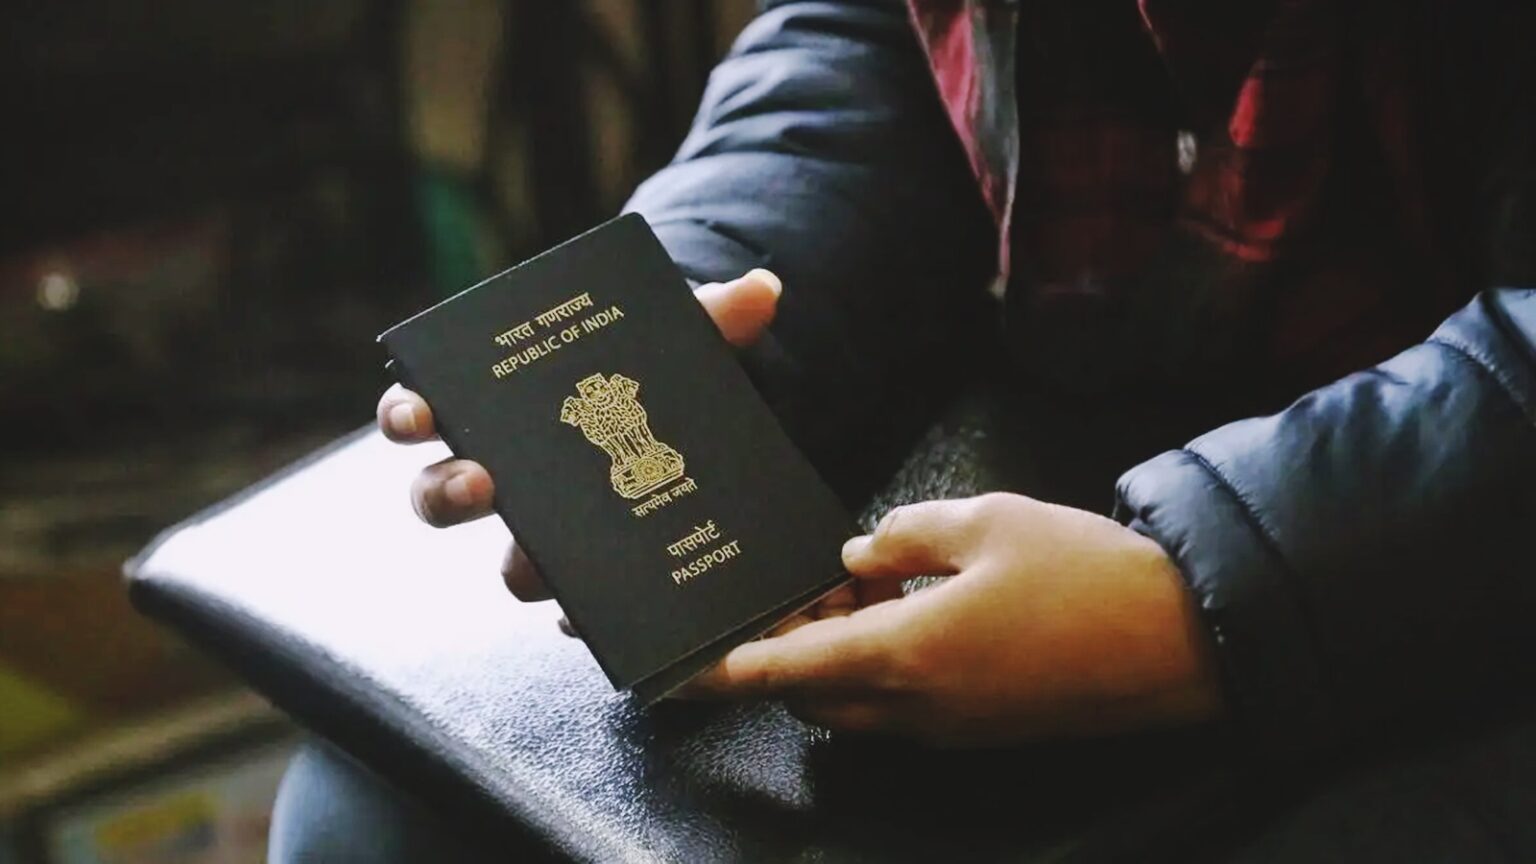
Ah, name changes – those pivotal life moments that can signify a fresh start, a new chapter, or a deepening commitment. Whether you’ve recently tied the knot, embraced your true self, or simply decided it’s time for a rebrand, updating your passport to reflect your new name is a crucial step in aligning your identity with your travel documents.
But let’s be real, navigating the bureaucratic maze of name change procedures can be a daunting task, especially when it comes to something as important as your passport. Fear not, my friends! We’re here to guide you through the process with a comprehensive step-by-step guide, sprinkled with a healthy dose of humor and wisdom to make the journey a little more enjoyable.
Let’s dive in, shall we?
Passport Renewal Name Change
Step 1: Gather Your Evidence
Before you can kick off the passport renewal process with your new name, you’ll need to have a few key documents in order. Think of these as your “name change credentials” – the official proof that you’re not just randomly deciding to go by a different moniker (although, if that’s your thing, we’re not judging!).
Here’s what you’ll need:
– Your current, valid passport
– An original or certified copy of your marriage certificate (if your name change is due to marriage)
– A court-ordered name change decree (if you’ve legally changed your name for other reasons)
Pro tip: Make a few extra copies of these documents, just in case. You never know when a bureaucratic black hole might swallow up an original, and it’s always better to be safe than sorry.
Step 2: Complete the Passport Renewal Application
Once you’ve got your name change evidence in order, it’s time to tackle the dreaded DS-82 form – the backbone of your passport renewal application. Don’t worry, we’ll walk you through it step-by-step:
1. Fill out the form with your new name, using black ink and printing clearly in ALL CAPS (because apparently, the passport gods can’t read lowercase).
2. Provide your current passport information and your old name (the one you’re changing from).
3. Attach a recent passport photo that accurately reflects your new look (no glamour shots, please – this is official business).
4. Include the appropriate fees for the type of passport you’re renewing (book or card).
5. Staple or securely attach your name change documents to the application.
And there you have it – your passport renewal application, freshly updated with your shiny new name!
Step 3: Submit Your Application (and Wait Patiently)
Now comes the hard part: letting go and trusting the process. You’ll need to submit your completed application, along with your current passport and supporting documents, to the appropriate passport agency or renewal facility.
You can choose to renew by mail, in person at a designated acceptance facility, or even online through an authorized third-party service (because let’s face it, the less time spent in government offices, the better).
Once your application is submitted, all that’s left to do is wait. And wait. And maybe wait some more. Passport processing times can vary, but generally, you’re looking at 6-8 weeks for routine service, or 2-3 weeks if you opt for expedited processing (for an additional fee, of course).
During this limbo period, you might experience a range of emotions: excitement, impatience, and perhaps even a twinge of separation anxiety from your old passport. But fear not, for soon enough, your brand-new travel companion will arrive, bearing your new name and ready to accompany you on all your future adventures.
Special Considerations: Children and Dual Citizens
While the process we’ve outlined applies to most adult passport renewals with a name change, there are a few special considerations to keep in mind for certain situations:
For Children Under 16:
If you’re renewing a child’s passport with a name change, you’ll need to use the DS-11 form instead of the DS-82. Additionally, you’ll need to provide:
– Evidence of the child’s U.S. citizenship (birth certificate, naturalization certificate, etc.)
– Parental consent and identification documents from both parents
It’s a bit more involved, but completely worth it to ensure your little one’s passport is up-to-date and ready for family adventures!
For Dual Citizens:
If you hold citizenship (and passports) from multiple countries, you’ll need to follow the name change procedures for each nation individually. This means separate applications, fees, and supporting documents for each passport renewal.
It’s a bit of extra work, but hey – the perks of being a global citizen come with a few extra hoops to jump through!
The Bottom Line: Embrace the Change (and the Adventure!)
Changing your name is a significant life event, one that deserves to be celebrated and embraced with open arms. And what better way to commemorate this new chapter than by updating your passport – your trusty companion for all the adventures that lie ahead?
By following the steps outlined in this guide, staying organized, and maintaining a healthy sense of humor throughout the process, you’ll be well on your way to having a brand-new passport that accurately reflects your identity.
So go forth, my friends! Whether you’re jetting off on a post-wedding honeymoon, embarking on a solo journey of self-discovery, or simply exploring new corners of the world with your refreshed identity, your updated passport will be your faithful travel buddy, ready to stamp its way into your heart (and your adventures) for years to come.


